
Although I entitled this post “take 2”, I think it’s 3 as my second attempt ended in disaster – I forgot that the fabric has to be the same on both sides and so I had one leg with the fabric inside out! The first pair are blogged here.
If you do have a wonderful fabric with different sides that you want to make these from, Liz Haywood has pinned a nifty diagram for how to do it on Pinterest.
Anyway, to the trousers! This is an image from the MakeUse.nz site – they look like pretty normal trousers. With a spiral!

Basically you take your length of fabric, bisect it diagonally (so you have two triangles made from a rectangle), and add a crotch curve. I already had a crotch curve from last time, created by joining the front and back of a pair of well fitting trousers. This is what mine looks like, together with a graphic of one side of the trousers.


The crotch cutouts become pockets, which is very handy.
I am a bit aware of giving away proprietary information here, so can’t really go into too much more detail about the design, but there’s quite a good explanation in Timo Rissanen and Holly McQuillan’s book, Zero Waste Fashion Design.

I found a wool and cotton remnant at Potters in Perth which would be perfect as it was the same on both sides. I got a bee in my bonnet about having wider trousers, which you get with wider material. In retrospect, I don’t think I like them as much.
My other mistake was to look at the crotch cutout and think that it was too small. Why I thought this I have no idea, but I thought I’d check it against another pattern that fits me well and found that it was indeed smaller. I didn’t really take into account the positioning of the waistband (the trousers I traced my second crotch curve from are high waisted) and they were a looser fit.
This is my first try on. They can’t be checked really until they are completely finished.


They look quite good here, but I felt that they were too long in the rise. I have rolled the waistband over to get them looking like this.
It is a simple matter to remove the waistband, chop a bit off the top of the trousers and resew the waistband – except I have pockets in there and I needed to go lower than the top of the pockets. I thought about this for a while and decided to chop the top of the pockets off as well.
The fit is much better, but now I need to tighten the elastic in the waistband. No biggie.


I included the last photo to highlight the bagginess at the back of the knee, however, this is the only photo that shows it and I might get it with other trousers if I stand awkwardly like this!
When I made the first pair I felt that they needed a couple of darts in the legs, to eliminate that slight bagginess at the back of the knee, so determined that I would do that this time. The problem is that I had a long triangle with no real way of knowing where my knees hit. The way these are constructed is that you wind the triangle around, creating a seam and a spiral. If you get carried away, of course, you will finish up with a point that you can’t get your foot through. I create my seam from the top to a little past halfway and then start at the bottom and work my way back up. This way I get the width I want at the ankle. The real trick is to get the spirals matching on both legs! I did a best guess on where my darts should be based on the length of my inner leg to the knee. Putting a dart in one side of the triangle, means a second one has to go in on the other side so that the sides match up. At least that was my thinking, but now I wonder if I overthought it and it wouldn’t matter. Let me try and show you.


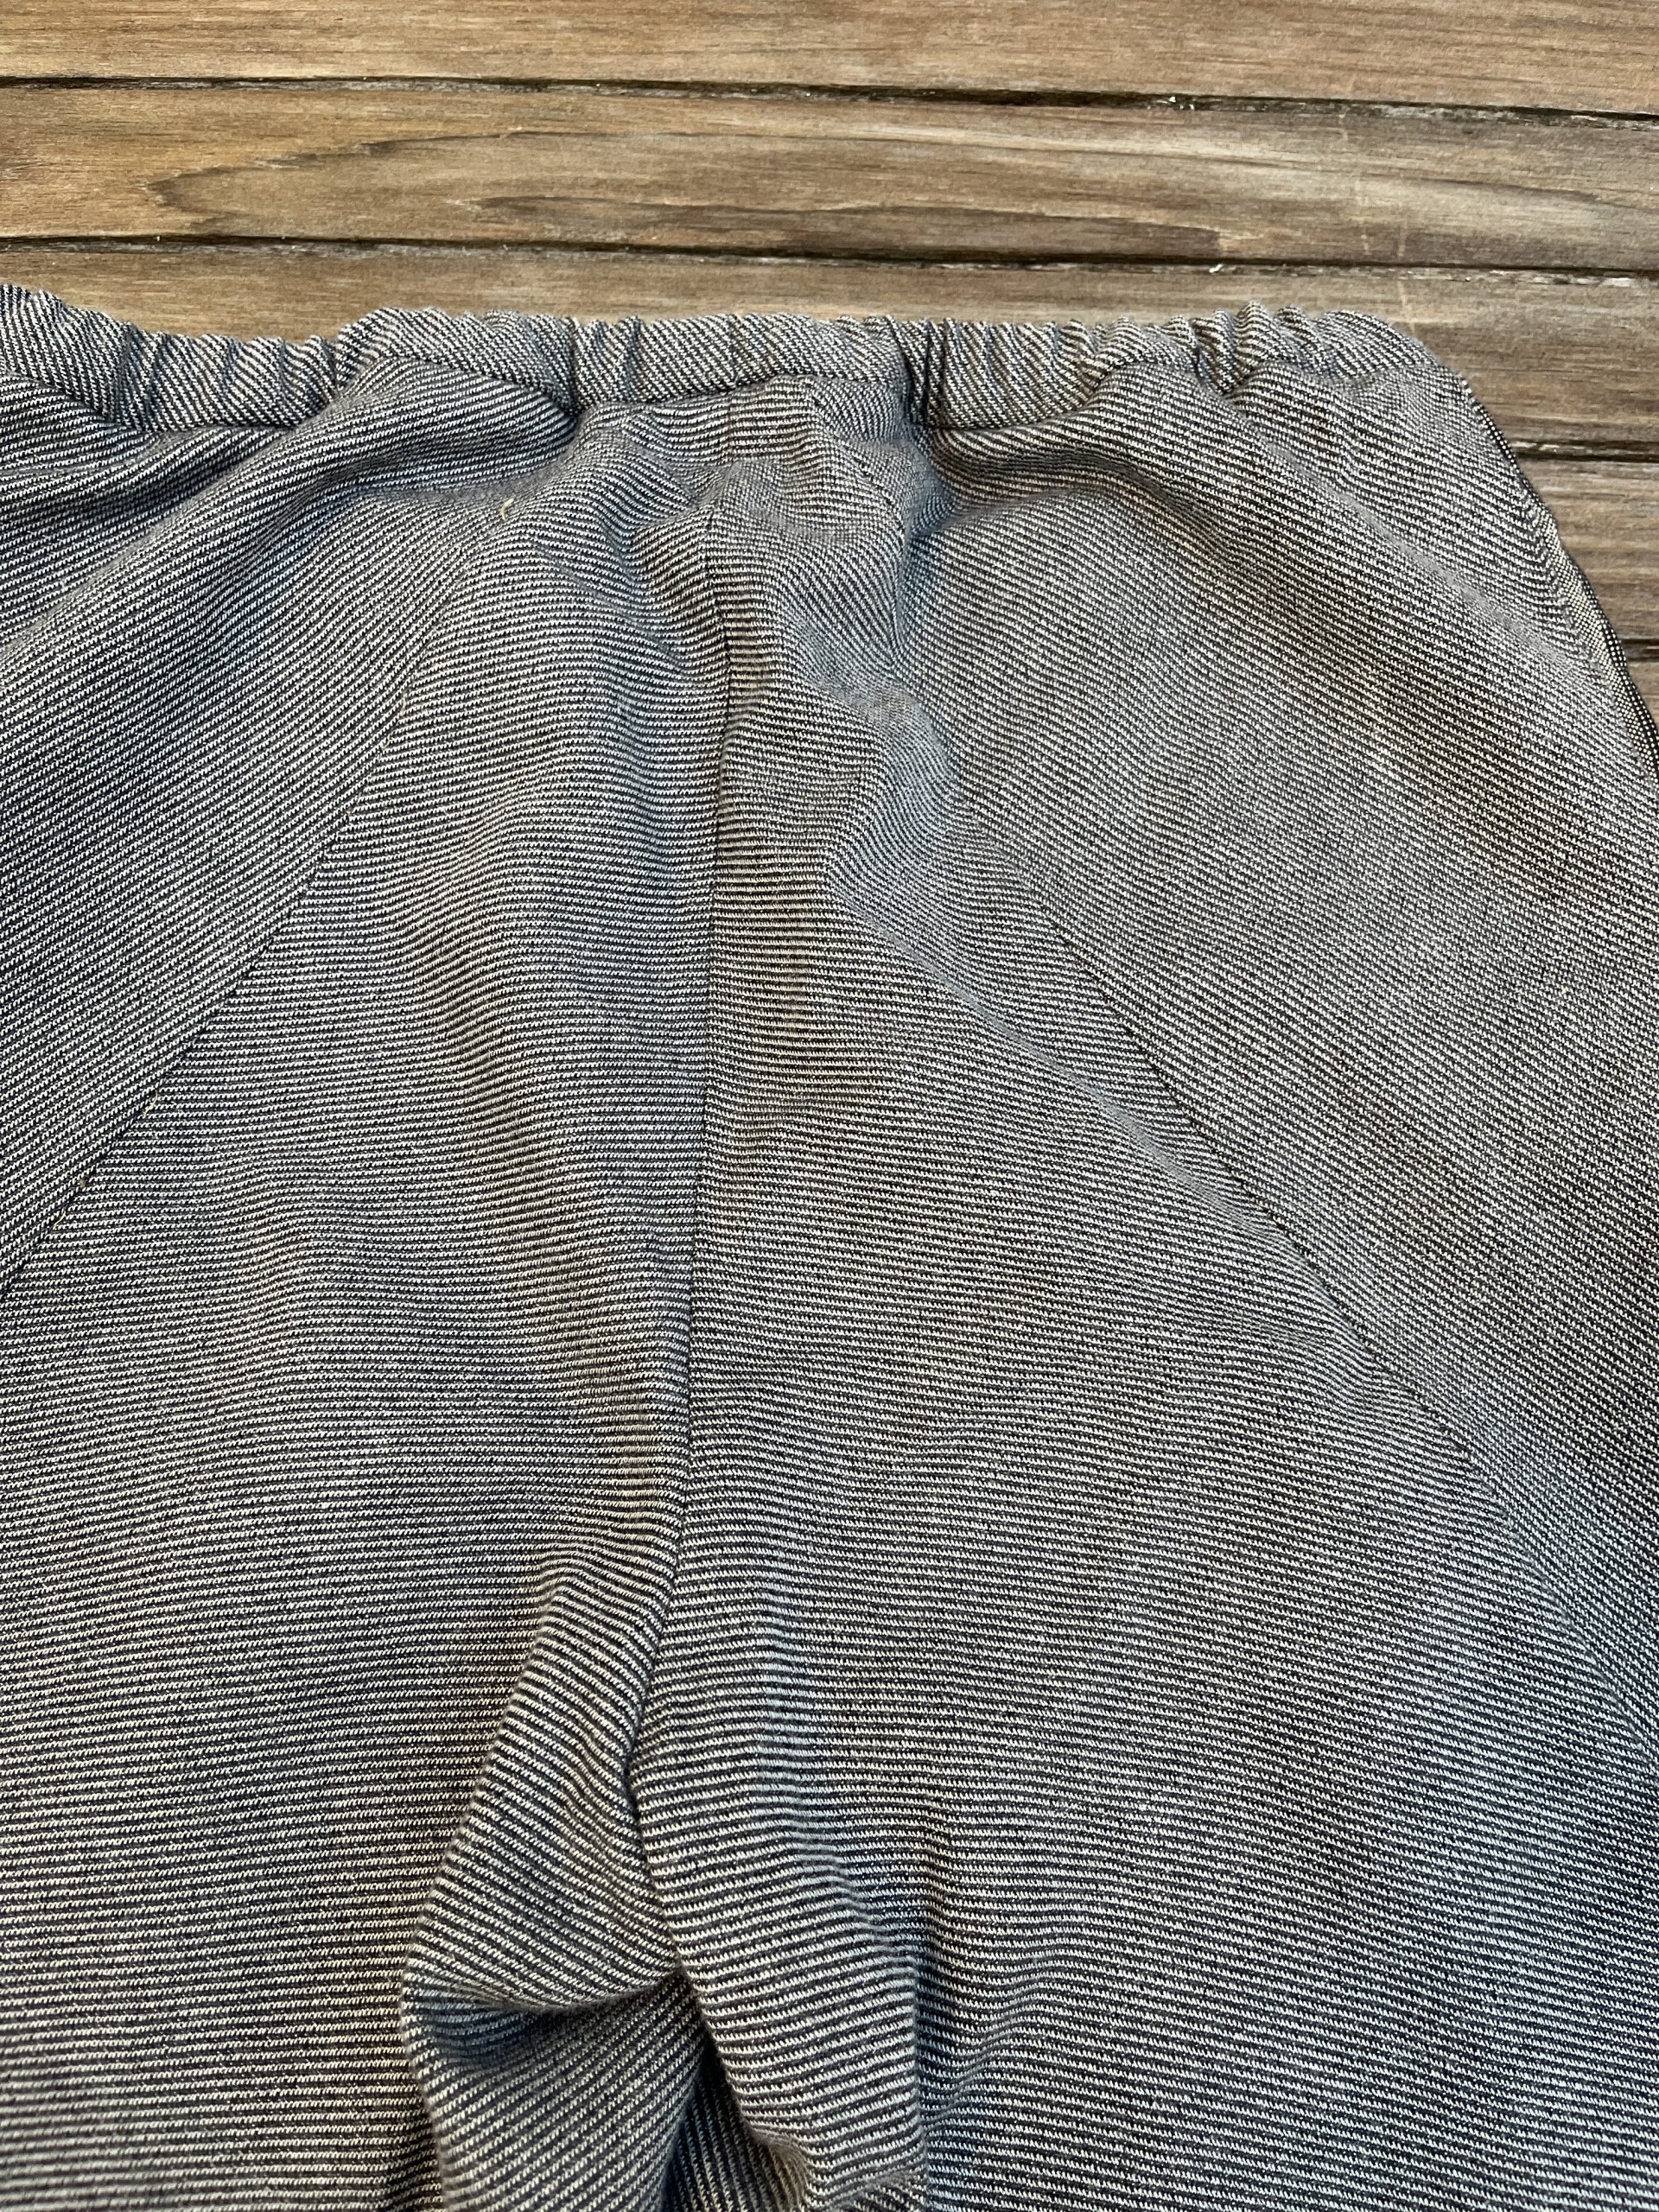
By cutting off the top of the trousers I lost a bit of my point at the waistband. Not that anyone will ever see this of course. The second two photos show that I slightly missed the mark in lining up the spirals on the legs. Not that you can see when they are in 3D, but I wanted to highlight the issue. I worked really hard to get these even, the bottoms are perfect but that next seam up isn’t.


I also forgot how to do the pocket. You finish up with two pieces from the crotch cutout and I guess you could make one pocket bag with them and just have one pocket. I wish I had read my last blog post on these trousers as I explain exactly how I did it. However, I got all smart and made proper welts with the pocket, meaning I had to find a second piece for the pocket bag. I found some coordinating fabric (left over from my Ukranian skirt) and cut out two more pocket pieces. This worked ok, except I lost the top of the pockets – I can still get my hands in though!

I give a lot more detail on the process in my other blog post, so if you are going to try to make a pair, check it out.
All that was left to do was wear them and see how I felt.
I forgot to take a photo of me sitting down, but somehow finished up with rather unfortunate bending over photos – I don’t know how, I take my own photos! I thought they would give a different angle, as it were!


I notice that the fabric is stretching a bit as I wear them and sadly I may have to wash them more often than I would like in order to shrink them back. They are warm and comfortable though.
I have worn them a few times, and have enjoyed styling them. I teamed them with my Ozetta Field Day cardigan and Doctor Who scarf. Shoes are Prada and interestingly not made in Italy. These were made in Vietnam and some are made in China. I did feel a bit ripped off when I bought them and realised this (it doesn’t say it anywhere on the shoes), but they are of really high quality and are years old and still look new, so I’ve recovered from my indignation!

Looking at these trousers, you would never know that they are zero waste – I had a tiny bit of fabric left from straightening it up. I had to “lose” quite a bit, which is annoying. I could have patchworked the scrap and made a back pocket, but I really like the seam lines at the back so didn’t want to hide them.

And finally, a photo of Miss G at the river. Her Mum took this photo and it looks glorious.

Sue, your first pair of spiral trousers were the impetus I needed to try this amazing pattern!
I was very interested in your knee dart experiments. I didn’t use them on mine but I plan to on my next pair – I could have done with them as I had the same issue as you.
Also, I came across a different version of this layout which I plan to try too: https://www.zerowastedesignonline.com/post/making-spiral-trousers-a-step-by-step-3d-learning-journey
Oh wow, this is so interesting! I’m planning another pair but I’m not sure I’m up to these modifications! Thank you Liz.
I love these pants! And your blog. Do you think the spiral trousers would work on someone with a bigger hip:waist ratio? Or do they depend on a straight figure to work?
I think they’d work really well on a more hourglass figure. You could add darts at the waist if necessary. Thank you so much for the lovely comment.