



I am a co-host for the Stashbusting Sewalong Facebook group in October, along with Sonja from http://www.sewingalacarte.nl and the theme for this month is Christmas gifts and decorations. Sonja is hosting the giftmaking and I am running a tutorial on how to make a Christmas tree and perhaps a door wreath.
If you are of a disposition to celebrate Christmas, this tree is a really nice addition to your decorations. It is ideal to take camping, as a table decoration, or to put in a child’s room, as it is soft and squishy, and best of all, it’s the perfect way to get rid of some of your small scraps.
It’s made from a small piece of hessian and any tiny scraps and pieces of fabric or ribbon that you have around the place. Following is a tutorial on making this tree, and I hope you’ll give it a go.
The Tutorial
This is what you will need:
- A piece of hessian around 38cm (15″) square. You can go bigger or smaller. If you go bigger, be warned, the workload increases exponentially. This seems like the optimum size to me. If you are buying hessian, look for green. No problems if you have the natural colour though.
- The pattern – I will outline how to draw this shortly
- Lots of scraps of fabric, not necessarily Christmassy fabric, but you might like to have a theme, such as red and green, silver and gold, whatever you fancy. I just go with whatever I’ve got. Prepare your fabric by cutting small strips, roughly 8x2cm or 3″x3/4″. I use pinking shears to cut mine, but it’s not necessary. Knit fabric works as well as woven, and I’ve used a mixture here.
- Find something that will work at the top of the tree – a piece of special fabric or ribbon
- You can decorate your tree with tiny bells or ornaments
- Simple tools – such as a wooden dolly peg, a blunt pencil and a metal crochet hook.
- Some stuffing. This can be fibre fill, but I also use all the scraps that my overlocker/serger produces.
- A small piece of felt, cut into a circle to fit your tree (cut this at the end).
OK, let’s get started.
Take your piece of hessian and zig zag or overlock/serge the edges. Run a bead of glue over your stitches and cover the edges with masking/painters/packing tape


The dark box is the edge of the hessian and the blue pie shape is the shape you will draw on the hessian. It is this part that you will fill in with scraps.
Now is the time to find some tools. A skinny piece of dowel, a knitting needle, or a wooden dolly peg with one leg filed down to a point as illustrated below. This is the tool with which you are going to part the fibres of your hessian. You do not want to break the fibres, you want to push a hole in between the fibres.


You also need a tool to help you pull the fabric through the hole you just made. Simplest is a crochet hook with a reasonable sized hook. My hook is specially designed for this job, with a fat handle, but you don’t need one of these. You could probably also use skinny nosed tweezers. Really, anything you have to hand.


You might find something like one of these in an op shop/charity/thrift shop.


They are used for rug making and have the advantage of prodding the holes and letting you pull the fabric through in one movement.
You might have a box or bag of prepared scraps or you might cut as you go, but you are going to fill your pie shape with these scraps. Here is a collection of Christmas fabric that I’ve acquired, and I’ll be mixing it with any other fabric that just happens to come to hand.


We are ready to start prodding!
In order to have some steps to show you I am making a teeny tiny Christmas tree. In some ways this was too small, but it did have the advantage of being quick to make.
You will hold your scraps on the wrong side of the fabric. Prod from the top and pull the scraps through from the back. Pull first one end, then prod a few strands away from the first hole to make a second hole and pull the other end through. Then pull the first end of the next piece of fabric through one of the holes made by the previous piece. You will have two pieces of fabric in one hole. This both locks the fabric in place and fills in the holes. It will look a bit like this.

If your scraps seem a bit long, don’t worry, you can always give them a haircut later. The back of your work will look a bit like this. If your loops look loose, you can pull them tighter from the front.

As you work, you should have something that looks a bit like the photos below. The one on the left is the right side, and the photo on the right is the wrong side.


Keep working, pushing two pieces of fabric through each hole until you have filled in your pie shape. Remember to put something a bit special at the point, which will be the top of the tree.
You are now going to start sewing up. Get some strong thread, like upholstery thread or doubled topstitching thread, and start from the top, it will be easier. Remove the tape and fold in as close to the edge of your line as possible. Then whip stitch the gap closed. You will have a cone shape.

Your fabric strips should cover the seamline. Fluff them about until they do. 
Underneath will look like this


Stuff the gap with fibrefill or the contents of your scrap bin. Here I’m stuffing mine with threads from my overlocker catcher. I poked them in firmly with my prodding tool, but a knitting needle would work well too. It’s amazing how much you can fit into a small tree.
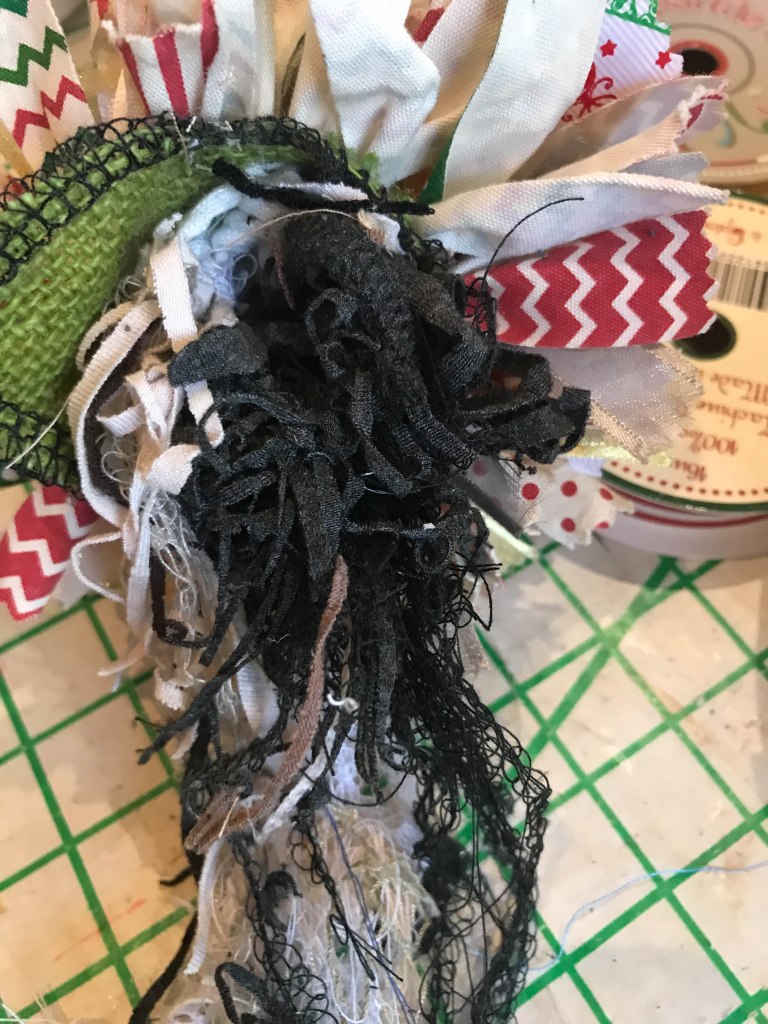
If you are making a large tree, cut a piece of felt into a circle and attach it to the bottom of your tree. You will have a triangle of hessian which you can either sew down or poke into the gap.

Then cover it with the felt.

and now you have a tree!


Here is an example of another one I made and you can see that some of the fabric I’ve used is not remotely Christmassy but it still works.


So, do you have one planned? If there is any interest we might have a go at a Christmas wreath later in the month. I’ve never done one, but am keen to give it a go.